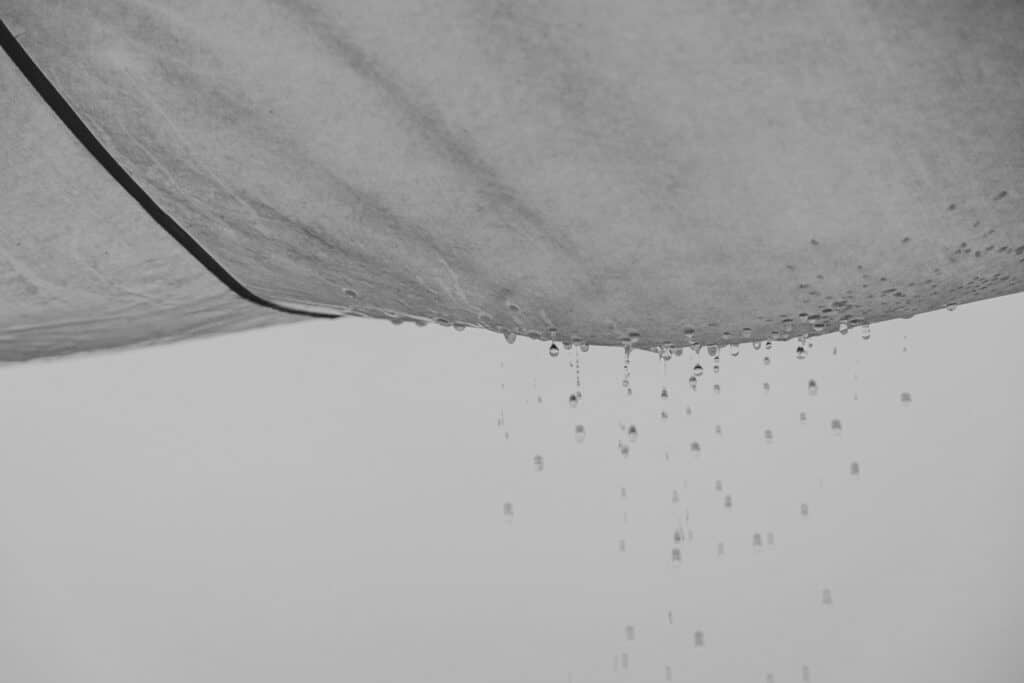
Birds singing, crickets chirping, campfire burning – there’s nothing more relaxing than the sounds of nature when camping. Even light rain in a deep forest is calming. Until the second you hear water dripping inside your tent.
If you’ve been there, the time to reinforce the waterproofness of your camp shelter is now. Let’s look at some whys behind and learn how to waterproof a tent for your next dry trip.
Why to waterproof a tent
Typically, all types of tents, if they’re at least half-proper, are made of waterproof or water-resistant materials. Yet, not all tents that claim water resistance actually have it (low-quality ones, in particular).
Such tents will in no way prevent water and will start evaporating with the first clue of moisture in the air. And if not that bad, then at least they won’t survive strong winds and rains. Happily, giving waterproof treatment to such a tent will increase its water resistance.
Of course, even high-quality tents aren’t fully immune from over-time wearing out. A tent waterproofing solution will help you prolong your camp shelter’s lifespan.

Sun damage
Just as it’s important to save your skin from the UV rays, the same way they can damage your tent fabric, eventually leading to cracks and tears.
It’s enough to camp a couple of weeks in the summer sun to considerably damage your tent fly. This would already decrease the fly’s efficiency during heavy rainfall.
Try to protect your tent from the summer sun to keep it alive longer.

Use and age
Fabric that’s constantly covered in dirt and dust, left to dry out in the sun, then quickly packed in a bag and left for months without daylight, will go downhill over time.
Water and soil make fabric, especially a tent footprint, absorb it all, decreasing its effectiveness against rain and wind.
Here, tent waterproofing treatments also come in handy to prolong the tent’s lifespan. For instance, DWR coating makes water bead and run off the fabric instead of absorbing it.
So if you’ve been using your camp shelter for a while now and notice some signs of wear and tear, it might be a perfect time to waterproof it again.
Seam damage
Age and use also decrease the strength of the tent seams.
Even if they’re fully sealed once you buy a tent, tent seams are the weakest spots and usually the first to give in when water starts coming through. Seam sealant can solve the issue.
Always identify the problem first
Before covering the entire tent with waterproof spray, it’s the right idea to find out how and where water gets in.
Is it the door? Is it the seams? Do the walls or the bottom soak up water?
You can test this by setting up your tent in the backyard and spraying it with a hose. Check for leaks inside.
Now that you know where the issue is, let’s get down to some quick ways how to waterproof a tent.
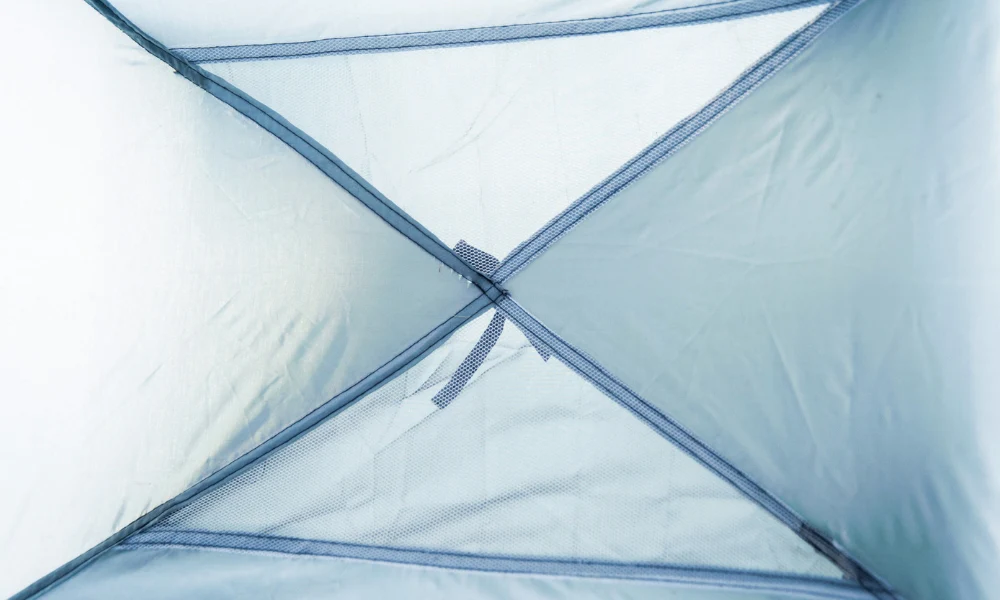
Seal tent seams
Seams are where the fabric of the main body of the tent meets, usually at the corners or along zippers.
Usually, tents go together with sealed seams. But that might not be the case for a lifetime. As with anything, the seal can eventually wear down and let water leak through.
If your seal is leaky, here’s what you need to seal it:
- A tube of tent seam sealer. Make sure to get the right type for your tent, as silicone-treated fabric works with a different sealer than polyurethane-coated fabric. Most tents are made from polyurethane, yet if you’re not sure about yours – check it with the manufacturer.
- A piece of fabric or an old rag
- Rubbing alcohol
Now, it’s time to learn how to seal your tent seams:
- Pitch your tent in a dry, light spot or room so you can easily check all the seams. Go over your tent and locate all the seams. You’ll seal on the underside of the outer fly and the inside of the tent body. We advise putting the fly inside out to access seams easily.
- If you see seam tape coming loose on the underside of the tent fly, gently remove peeling sections, leaving intact sections in place.
- Softly clean tent seams with the rag and rubbing alcohol.
- Apply and spread the new seam sealer across the seams.
If one seam has become failing, others might do this soon, too. Consider applying seam sealer to all of them.
- Leave the sealer to dry for at least four hours. Check if it’s not tacky after! If it is, apply another layer and allow it to dry completely.
Refresh the urethane coating on a tent

The urethane coating is what gives the fabric of your tent water-repellent properties.
But just like with sealer, this coating can deteriorate over time and use. If you see water flaking off of the inside of your rainfly or on the floor, it’s time to refresh the urethane coating.
To do so, you’ll need:
- Tent sealant. Again, make sure to buy the right type for your tent. Silicone-treated fabric doesn’t work with the same sealer as polyurethane-coated fabric. Check with your tent manufacturer if you’re unsure what material your tent is made of!
- A sponge with a rough side
Follow these steps to apply the tent sealant:
- Put your rainfly and/or tent floor on the dry ground and softly wash off the flaking coating with rubbing alcohol and a sponge.
- Apply a thin layer of the new tent sealant to the whole fly or tent flow as per instructions on the seam sealant bottle.
- Leave the coating to dry for a minimum of 24 hours; only then pack it.
Don’t forget to wash your hands to get rid of any sealant and coated tent fabrics!
Refresh the DWR on a tent
If the rain on your fly doesn’t come in droplets anymore, refreshing the durable water repellent (DWR) coating is the way to go. This treatment will again protect the fabric from being soaked with rain, so water will bead up and roll off.
The things you need:
- Water
- A clean, damp cloth
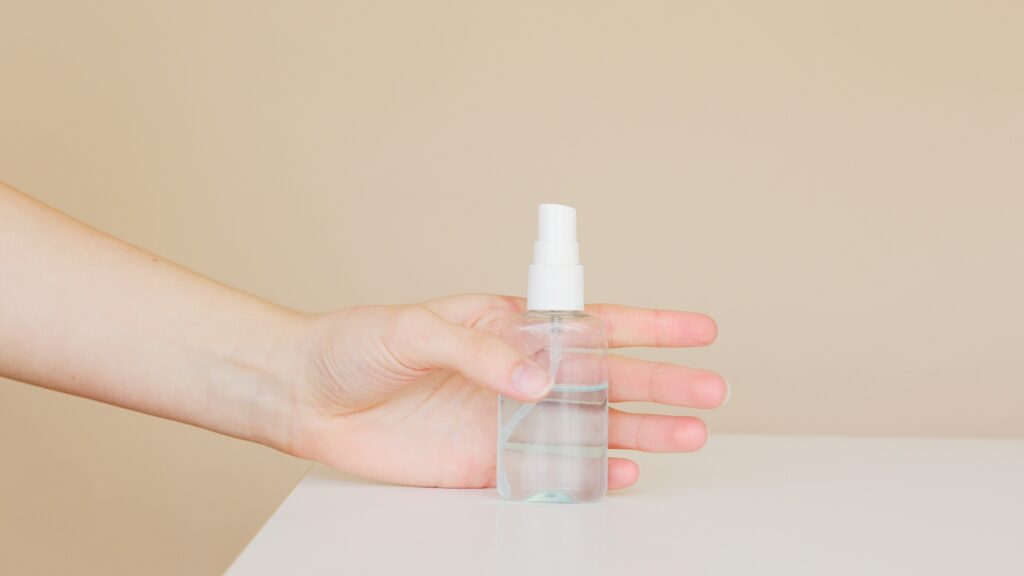
- Tent waterproofing spray with DWR properties
This is how you do it:
- Pitch your tent in a dry room or a spot outside where there are no strong winds.
- Lay the rain fly or tent floor out on the ground. If you’re refreshing the tent floor, make sure to put a tarp or something else under it, so you don’t get your ground all wet and dirty.
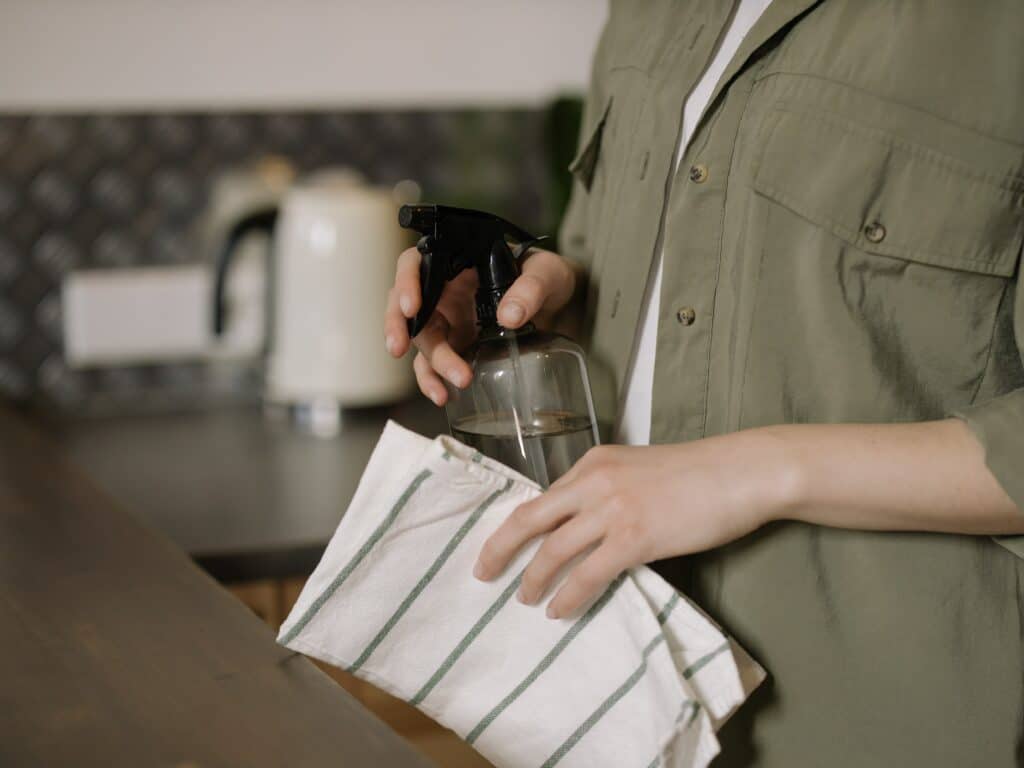
- Spray down the rain fly with clean water (if you just washed your tent, there’s no need to wait until it’s dry).
- Apply the waterproof spray evenly over the outer side of the rain fly.
- Wait for a couple of minutes. Then, wipe off any excess coating.
- Let the tent dry thoroughly.
Bonus tip: Waterproof tent with a tarp
“Well, the tips you’ve provided are nice, but what if my camping trip is a few hours away?” No problem at all!
If you don’t have time before your upcoming camp or simply prefer not to use chemical-based tent waterproofing methods, there’s always a waterproof tarp waiting to help you in your camp setup.
For this, you’ll have to take two simple steps:
- Pitch your tent as usual.
- Rig up a tarp over the tent and make sure it’s all covered.
Note: Think about where the water from the tarp will go and keep this space free from camping gear or clothing.
And here you are! All set for a rainy camping
To sum up
Tent waterproofing is no doubt a way to go if you wish to prolong your tent lifespan and prevent your camp shelter from ending up ditched.
It goes without saying that it helps save your money, too. Instead of saying goodbye to your beloved old tent once the water shows, just use the tips we shared.
Take good care of your gear, and it will serve you well!
