Starting a campfire is one of the most exciting parts of a camping trip. After all, it’s those roaring flames that make the whole experience much more fun. But let’s not forget the basics – handling fires safely and responsibly is crucial.
You’ll want to make sure your fire is under control and won’t spread. And you’ll have to be cautious about the environment and leave no trace of your flames behind.
In this blog post, we’ll go over some tips and tricks on how to start a campfire in the wilderness. From selecting the right location to gathering materials and building a fire, we’ll cover everything you need to know for a safe and enjoyable campfire experience.
Whether you’re a seasoned camper or a first-time fire builder, this guide will help you brush your campfire knowledge.
Safety always comes first
Safety must always be at the top of your mind when building and handling fires. Before starting fires, you must be 100% sure it’s allowed. Get to know the rules and regulations of the area you’re in. In some locations, it can be prohibited due to dry conditions, for example.
Remember to check the rules for firewood collection. Many national parks require you to bring your firewood or purchase it from a local supplier to prevent the spread of invasive insects or diseases.
Find a spot for your fire
In some camping locations, there may be restrictions on when and where you can build a fire and what size and type it should be.
If you’re in a backcountry area where fires are allowed, the best practice is to use an existing fire ring if one is present. You should only build a new fire ring in emergency situations where designated fire pits don’t exist. If you do so, you must dismantle and clean the spot when you’re done.
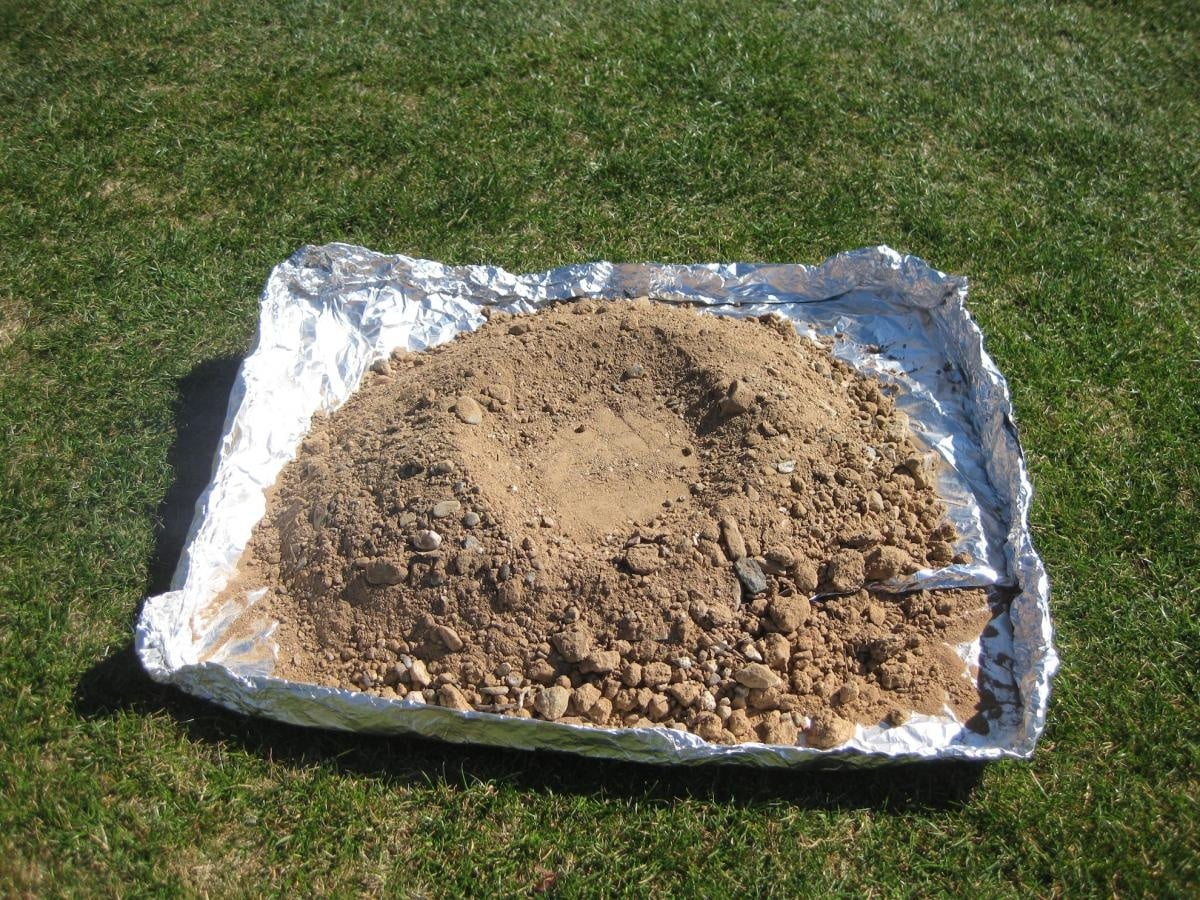
The alternative to existing fire rings is a mound fire, or leave-no-trace fire, a technique where you use ground soil to create a campfire that you can quickly disperse afterward. To make a mound fire, you’d need to create a 6 to 8-inch, 18 to 24-inch wide circular platform of mineral soil.
Most importantly, always follow the leave no trace principles and clean up your campfire when ready to leave.
How to start a campfire: Step by step
Tinder, kindling, and firewood are key ingredients to get your fire going.
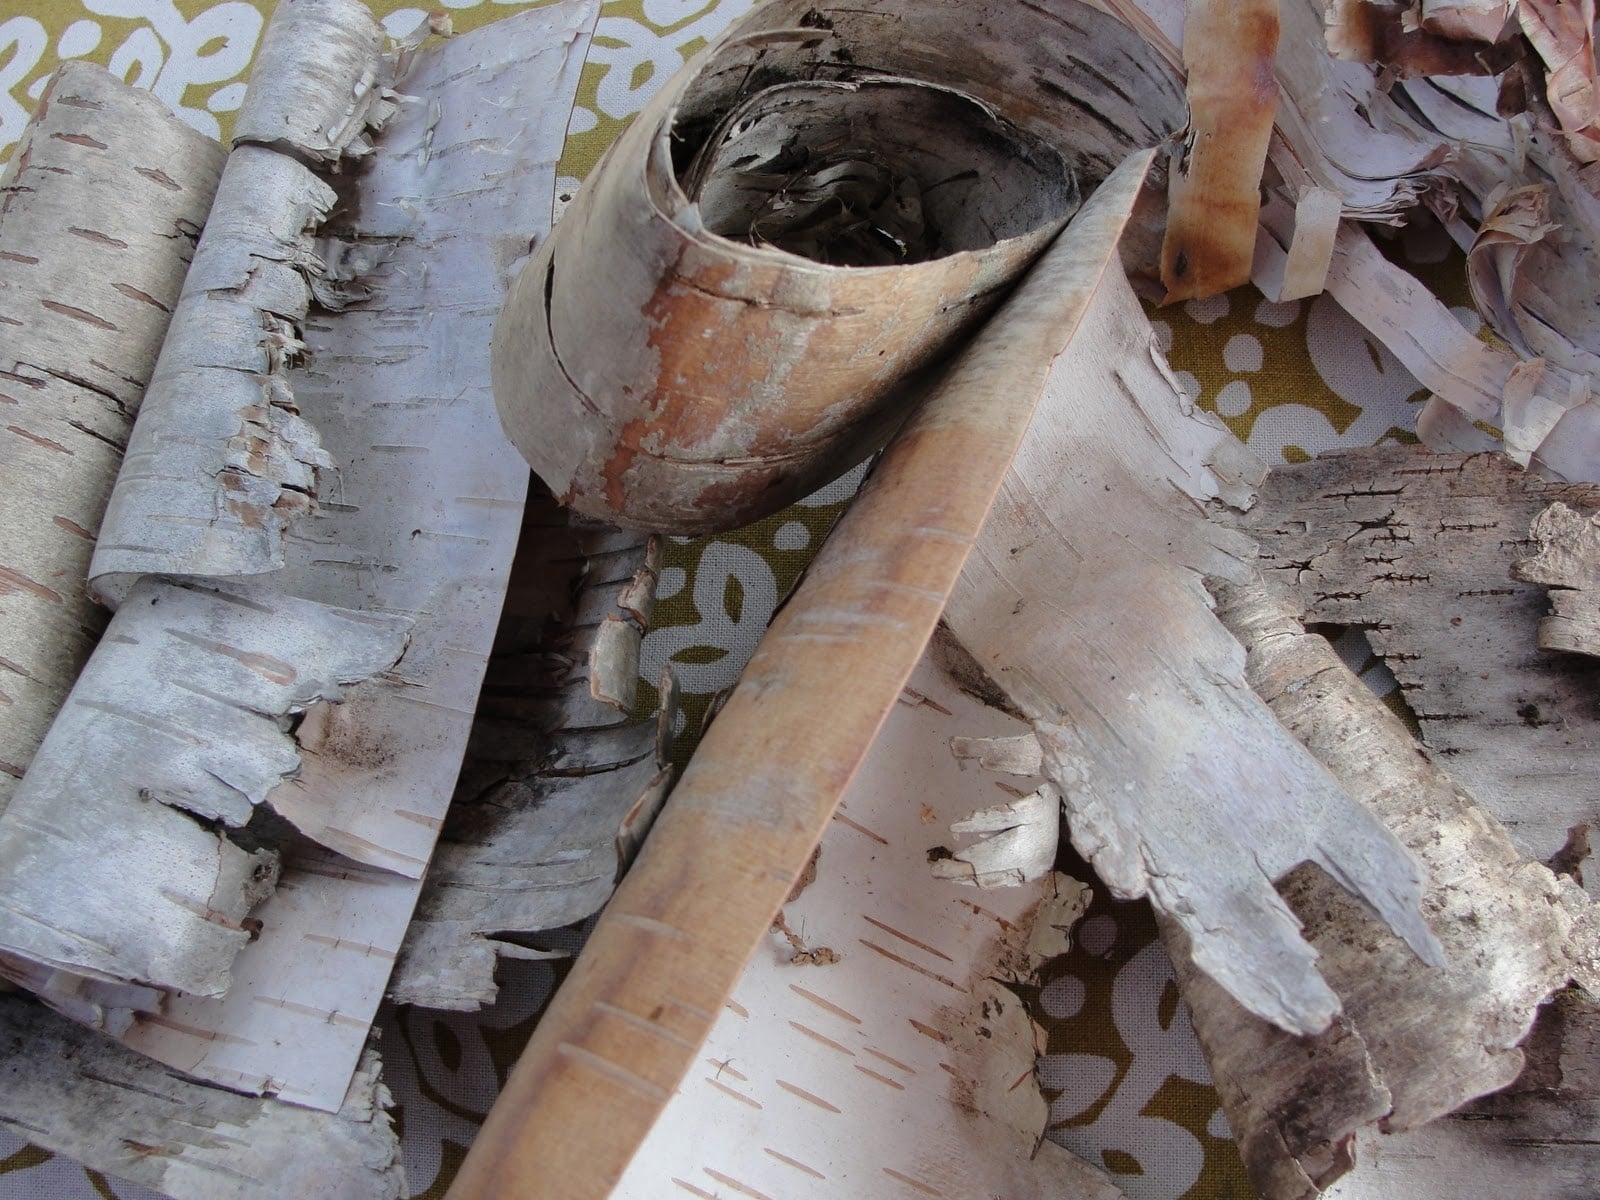
Finding or bringing along premade tinder is a good idea to get your flames going easier. Newspaper, toilet paper rolls, dryer lint, cotton balls soaked in petroleum jelly, store-bought fire starters, or corn chips are all good options. If you can find it, you can also use birch bark, a natural fire starter.
You can learn all the ins and outs of campfire starters, find the best options to buy, and get detailed instructions on how to make DIY fire starters in this blog post.
Kindling is small pieces of wood that’ll help build the base of your fire. Larger kindling will help you make the fire bigger. Firewood will be the last addition that’ll keep your flames burning.
Building a teepee fire
If you’ve never started a campfire, the teepee fire, also called pyramid or cone, is an easy way to get a campfire burning quickly and a must to learn for every camper. Teepee fires have been used worldwide for centuries to keep warm, cook food, and tell stories.
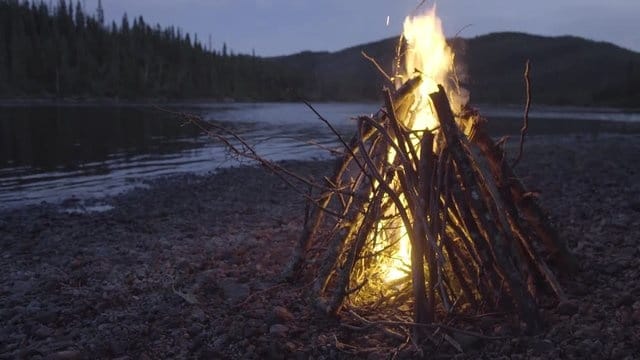
1. Start by gathering a few pieces of firewood roughly the same size and shape. These will form the main structure of the teepee.
2. Stand one piece of firewood upright in the center of your fire pit. This will be the primary support for the rest of the teepee.
3. Place the other pieces of firewood against the upright part, arranging them in a teepee shape around it.
4. Once you have a basic teepee shape, add more firewood to the structure, making sure to keep it stable.
5. Once the teepee structure is complete, place the kindling inside the teepee structure at the base of the firewood.
6. Ignite the kindling. Blow gently on the kindling to help it catch fire.
7. Once the fire is going strong, add larger logs as needed. Make sure not to overwhelm the structure.
Other types of campfires
There are also other types of campfires that you can build, each best for a specific situation, surroundings, and materials available. Let’s see what they are.
Lean-to fire
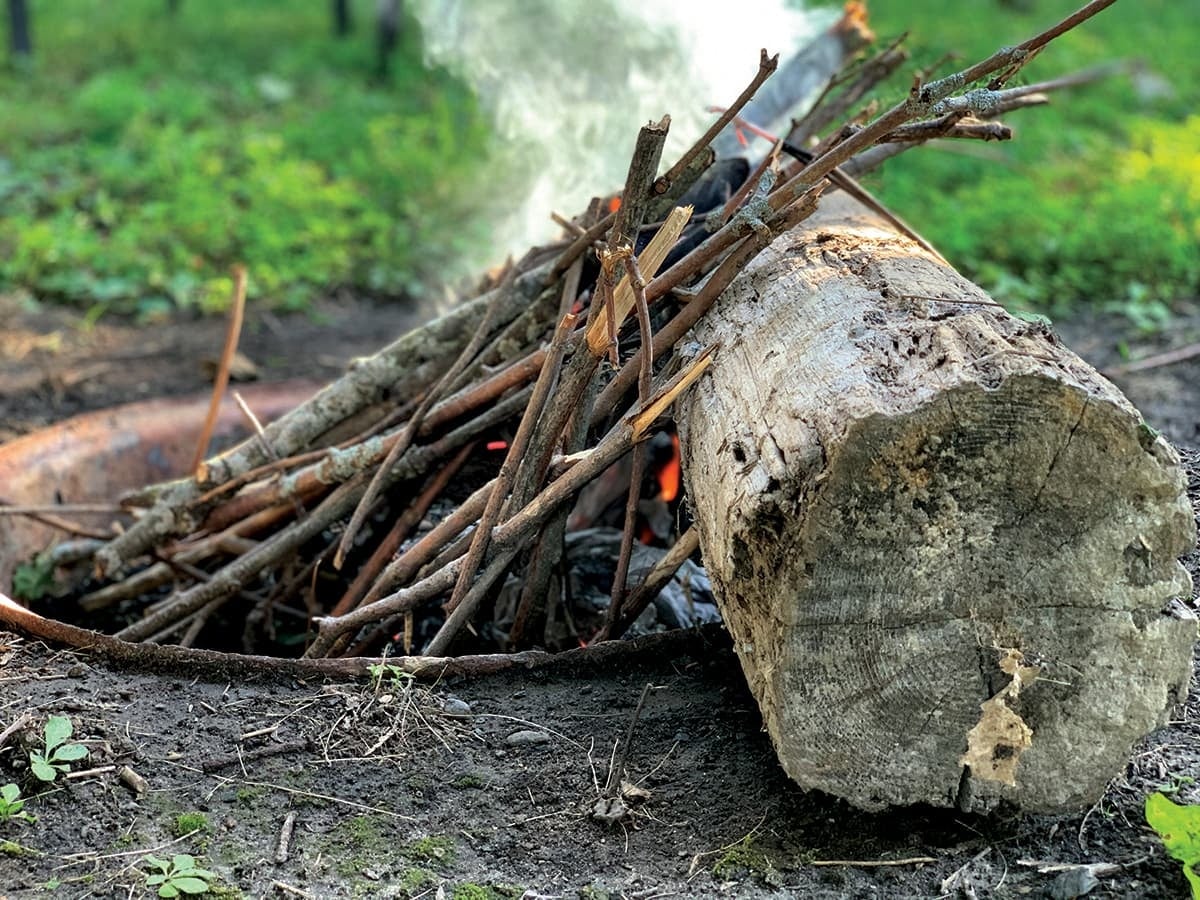
A lean-to fire is a type of campfire that’s built against a natural barrier, such as a rock or log, with one end open to the wind. This allows the fire to be protected from the wind while still providing enough oxygen to keep the fire burning.
The barrier also helps to reflect heat towards the fire, making it more efficient. Lean-to fires are often used for camping and survival situations.
Log cabin or criss-cross fire
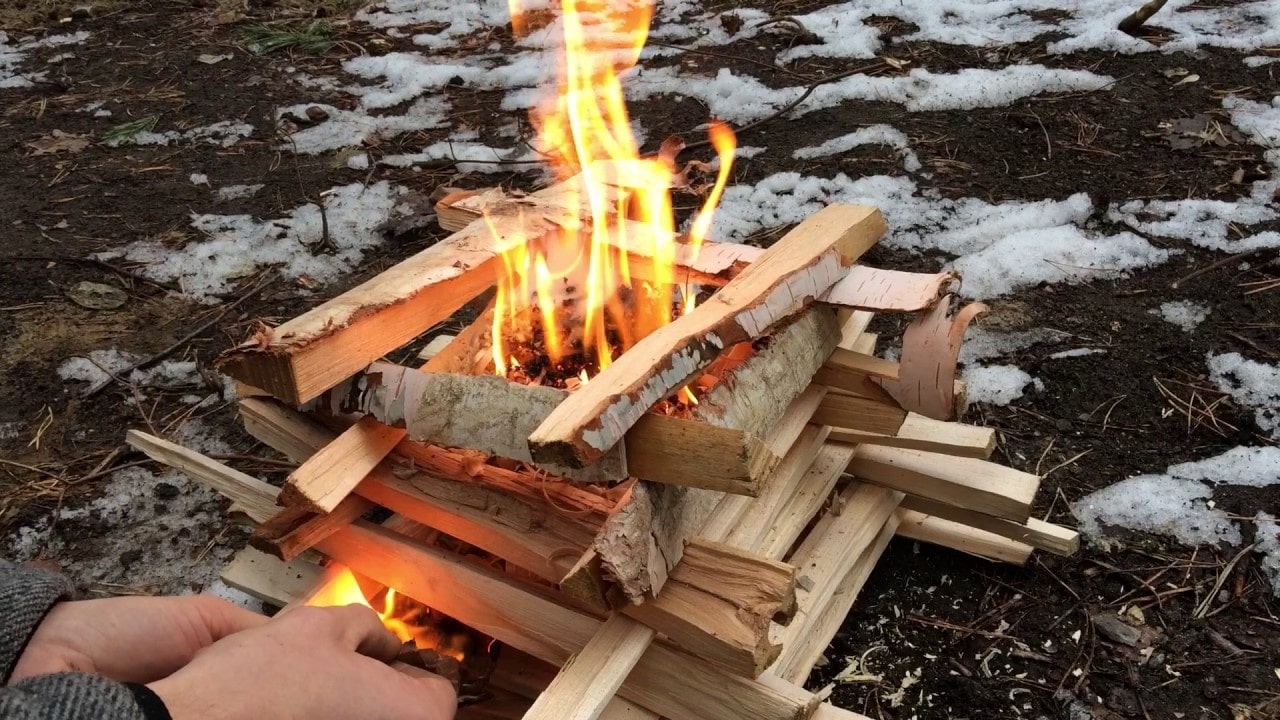
The log cabin fire is a popular setup for starting fires. It involves constructing a “criss-cross” of small to medium-sized wood, which can be used in two ways:
1. The log cabin fire can burn down quickly to provide boiling and frying flames.
2. It can also produce coals that are ideal for basic cooking. This log cabin fire can also form the foundation of larger fires like a council fire.
If you’re up to some campfire cooking, having the right cookware is your key to success. We’ve covered the best campfire cooking equipment on the market on our article.
Either way, you should typically add extra wood to maintain the log cabin fire for more extended periods.
Platform or upside-down fire
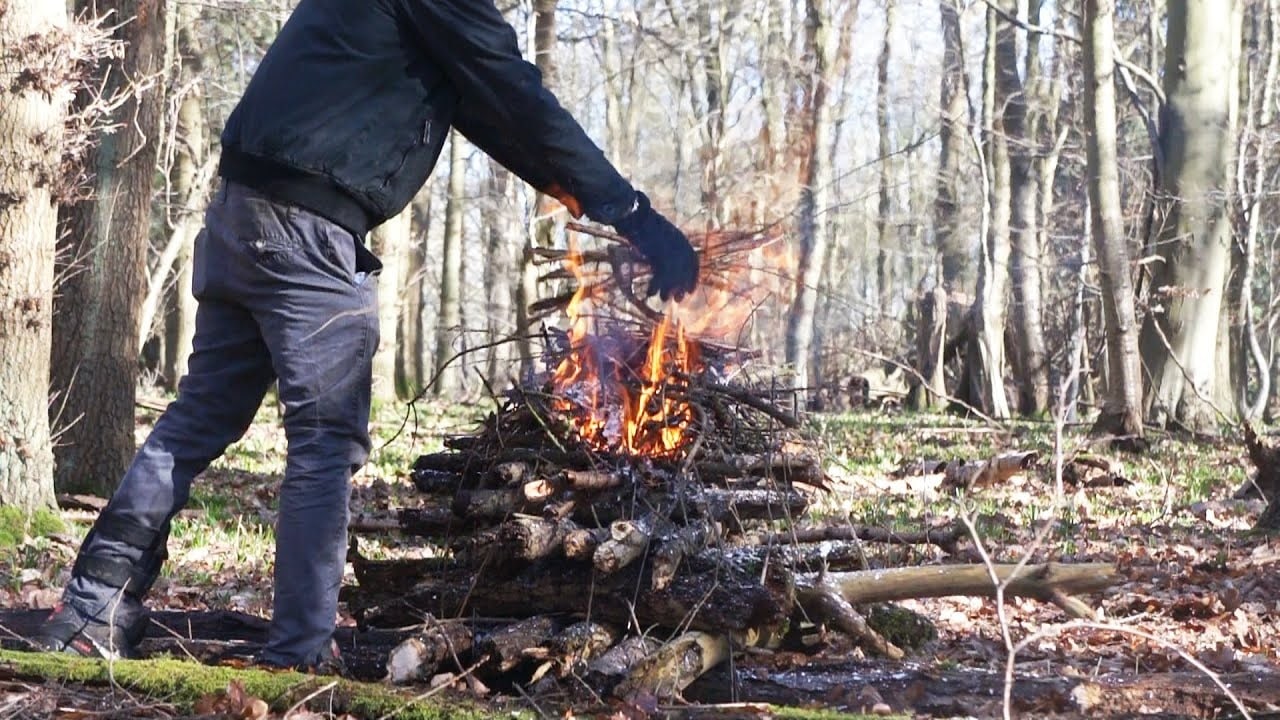
Platform fires are similar to log cabins; the only difference is that the logs are stacked closer together and lit from the top.
When the fire starts at the top, it slowly burns down toward the ground, building a solid flat platform of hot coals, making it easy to cook food directly on them.
Star fire
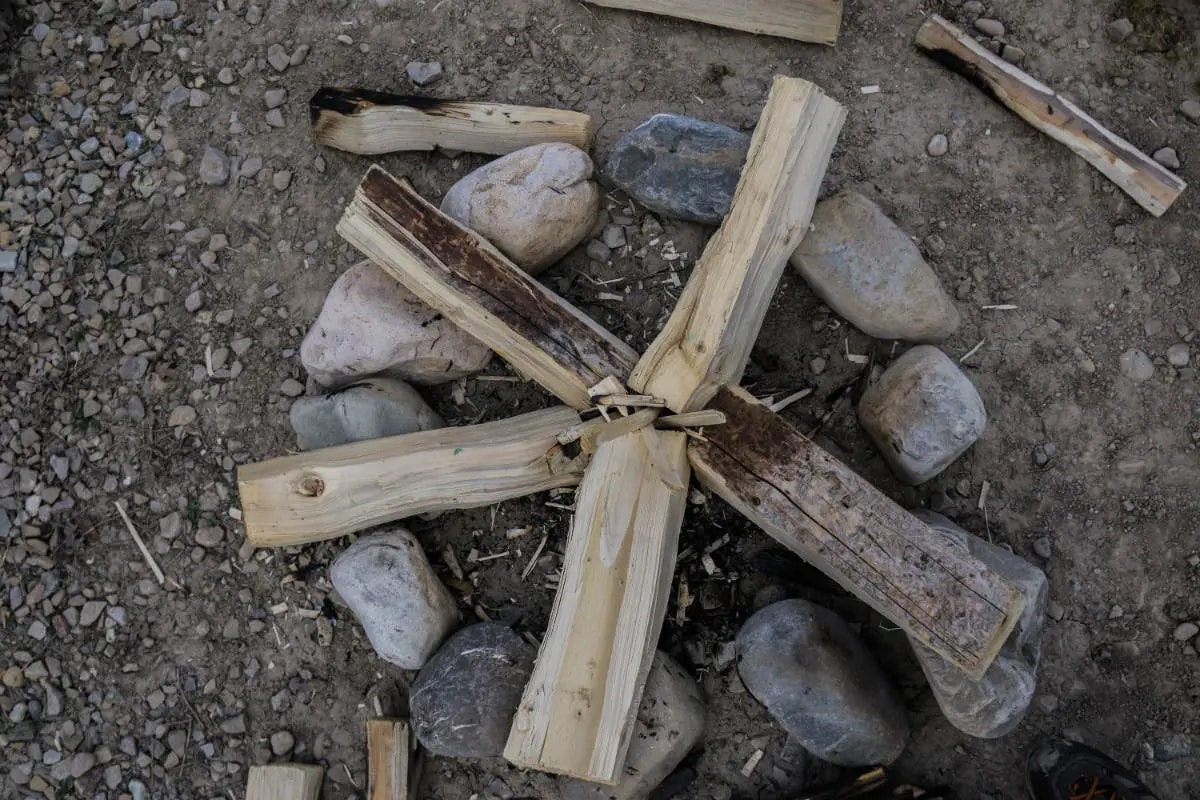
A star fire is a great way to go if you have limited access to wood and need to make the most of what you have. It offers much control over the fire temperature – just push the branches in for hotter and pull them out for cooler.
This is an excellent choice if you’re in a survival situation with insufficient resources for traditional fire lighting. The star fire is also convenient for simple one-pot meals such as boiling, grilling, frying, and stick cooking, and it can also work with a campfire tripod placed over it – what’s called a gypsy fire.
These features make the Star fire an attractive option attributed initially to North American Indians and their frequent references to the wild west.
Keyhole fire
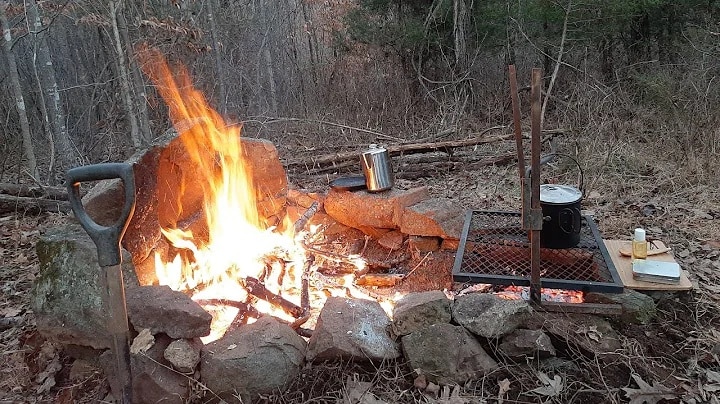
A keyhole fire is an ideal setup for outdoor cooking, as the shape gives you more control over the fire temperature and heat. The body consists of a large round part – the main fire – and a rectangle where the coals are scraped once ready.
This simple yet effective design allows you to add fresh coals to your meal while cooking. By handling the flow of coal into the rectangular section, you can fine-tune your outdoor culinary experience to ensure it’s just right.
Swedish log fire
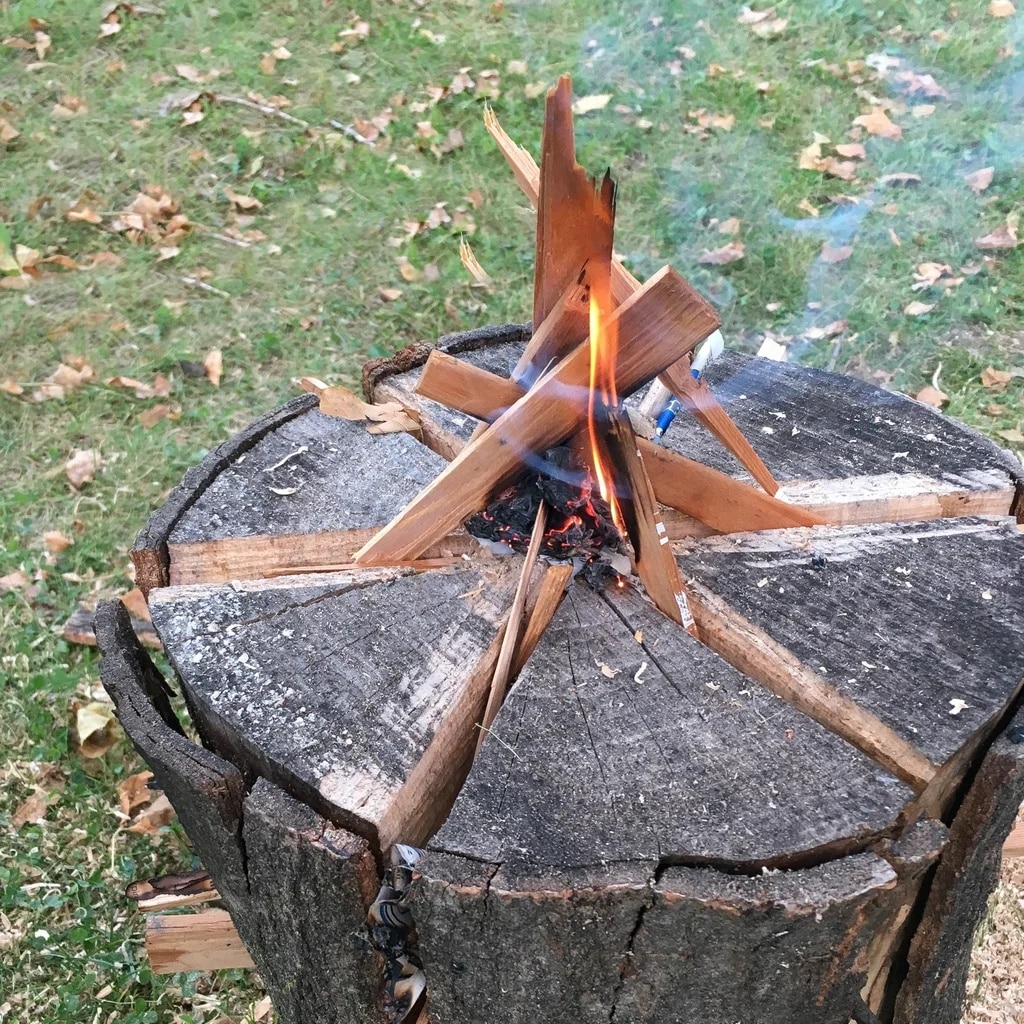
The Swedish log fire might sound intimidating if you have a little camping experience. But it’s surprisingly simple once you have the right equipment. The hardest part is making the cuts into the logs with a hand saw – but don’t worry, what awaits you is worth every effort.
This fire type is efficient for cooking one-pan meals like frying and boiling, and you can move it around with relative safety after lighting. Once all the wood finishes burning, there’ll be no need for wood tending – just repositioning the fire, if necessary, to the wind to get it going better.
Log stove fire
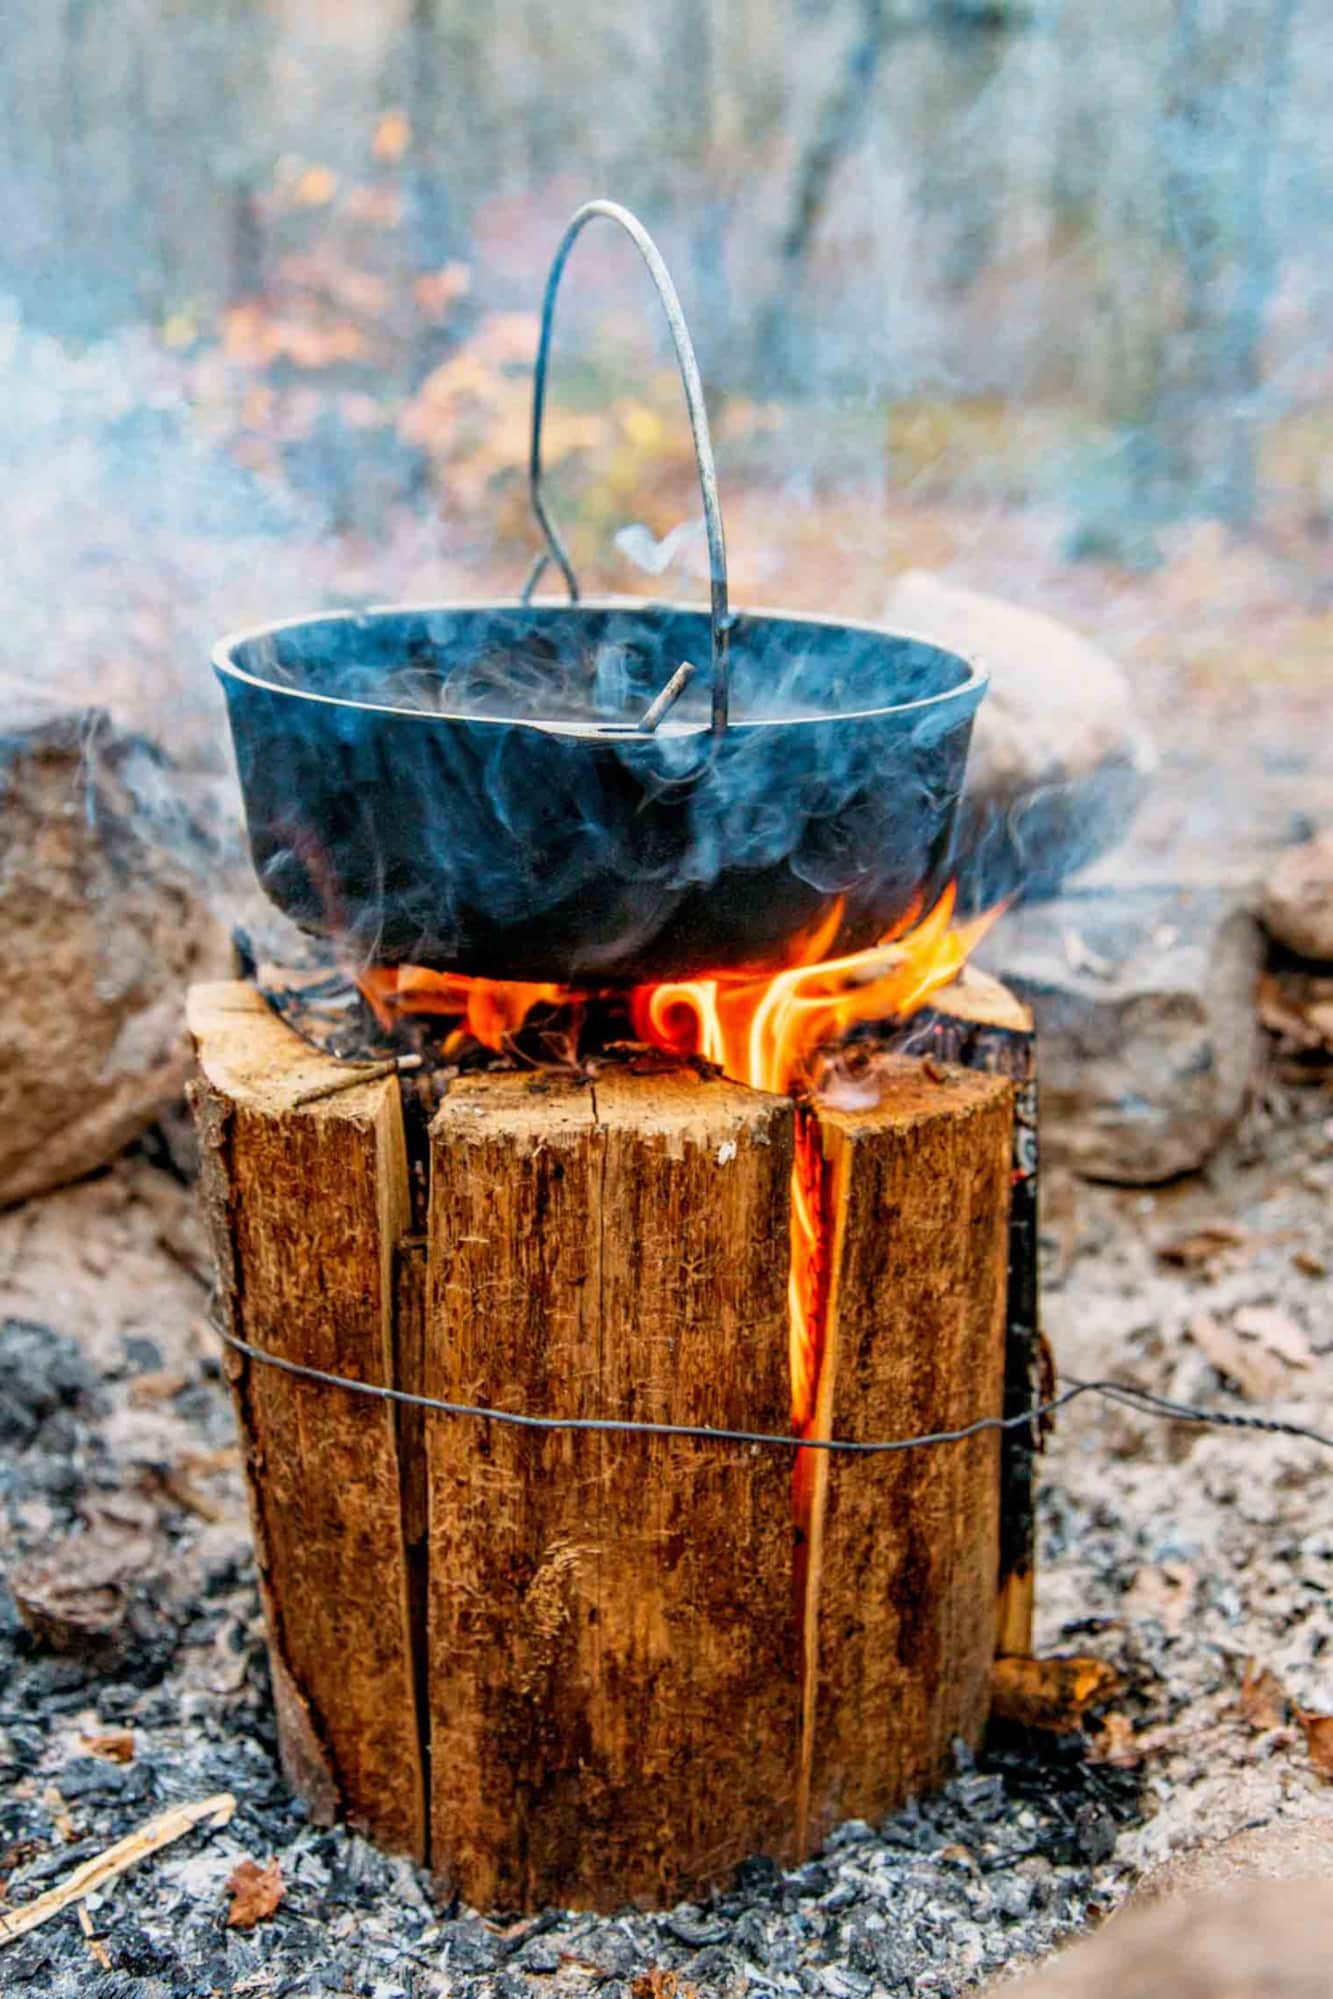
The log stove fire is a great way to bind together split logs and create an effective, stable fire. It can be constructed quickly and easily with basic tools such as axes and splitters, eliminating the need for special or power tools like those required in other upright burning methods such as Swedish log fire.
The bundle of logs can be held together with wire or similar materials, or it can be placed in a small frame or drum to hold them loosely but securely in an upright position.
The log stove fire efficiently uses firewood and generates enough heat to cook on pots and skillets. It’s also relatively easy to construct even in remote areas.
When building this kind of fire, it’s vital to ensure that the logs are not tightly bound together, as this can cause excessive heat build-up, leading to structural failure.
Instead, the logs should form a loose structure with some air circulation between them for proper combustion of the wood, resulting in a hot and stable location for cooking.
Dakota fire hole
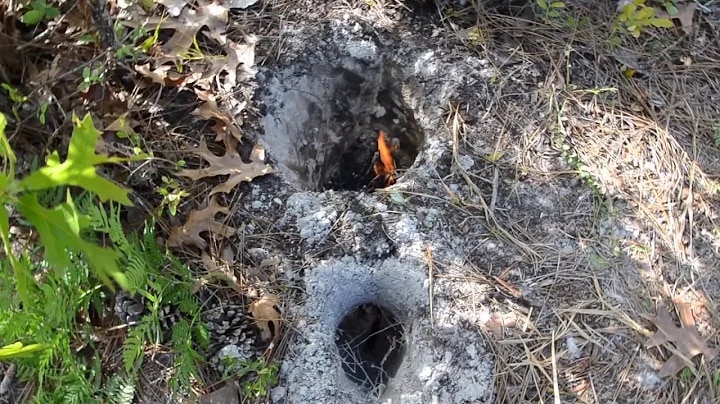
The Dakota fire hole is one of the most popular types of fire in many areas as it offers efficient heat with minimal smoke production. The technique gets its name from the Native American tribe of the Dakota, who’s generally credited with developing this fire style to combat windy conditions and help prevent accidental grass fires.
The design consists of two pits dug into the ground. The first pit serves as an air intake that allows oxygen to mix with the fuel in the second pit, creating a much more efficient burning process that produces far less smoke than an open-air campfire.
This, in turn, helps channel more of the fire’s heat directly to the cooking area, making it much easier to manage than other types of fires.
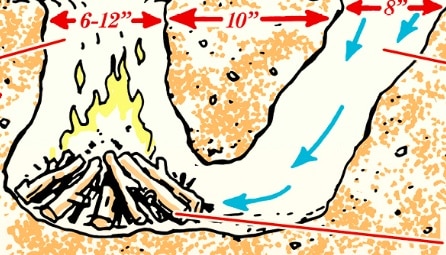
Although time-consuming, building a Dakota Fire Hole does have its practical benefits for extended stays in one location.
Siberian log fire
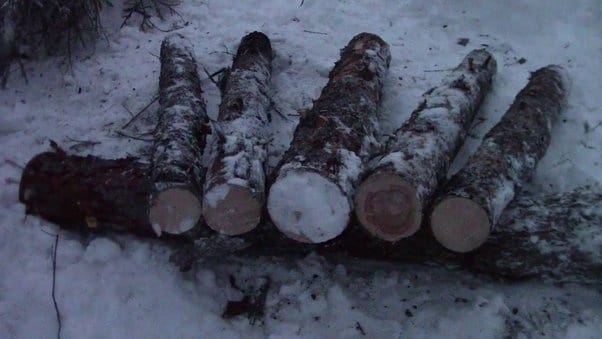
A Siberian log fire is a traditional method of building an efficient and long-lasting fire. It’s called “Siberian” because it’s said to have originated in the cold, snowy regions of Siberia, where people needed to be able to keep their fires burning for long periods to stay warm.
The Siberian log fire is built by stacking logs in a specific pattern, with the largest logs at the bottom and the smaller ones on top. A few logs are stacked in a pyramid shape, with smaller logs leaning against the larger ones at an angle.
The fire is started at the bottom of the pyramid and burns upward, using the smaller logs as kindling. This method creates a slow-burning, long-lasting fire that is easy to control and doesn’t require constant attention.
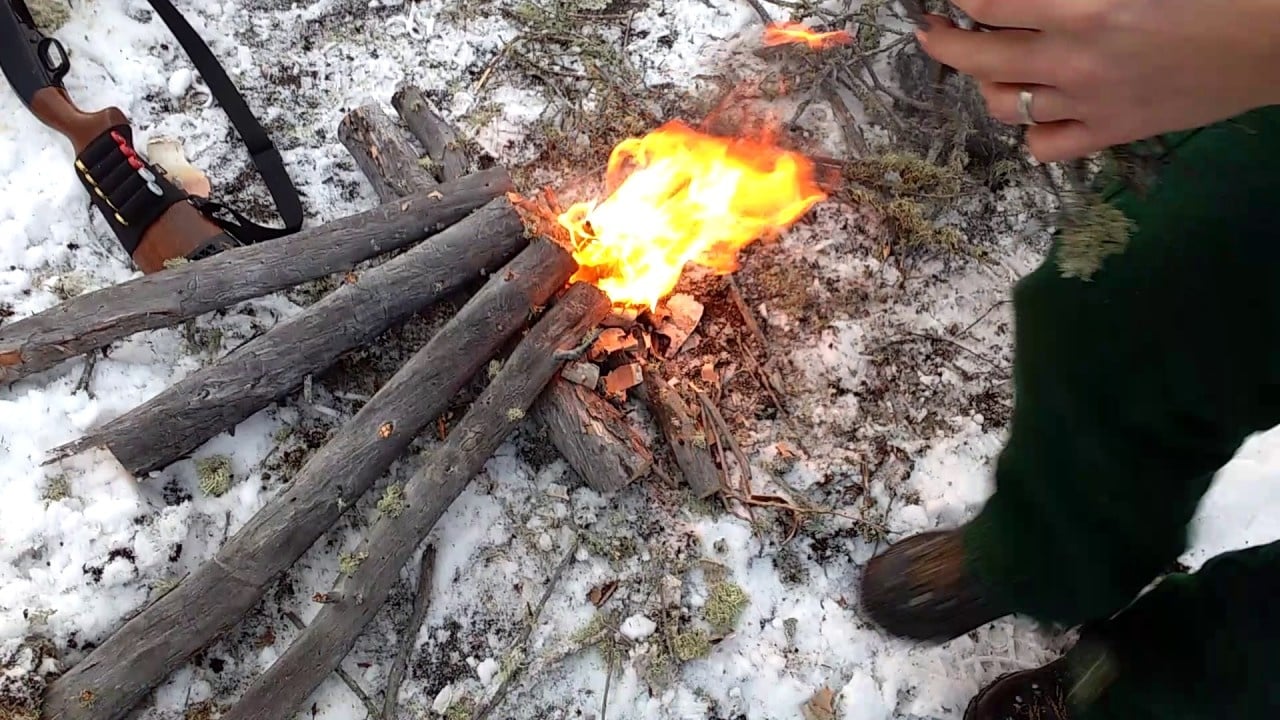
The structure isn’t only efficient in burning wood but also easy to maintain since the logs are stacked in a way that allows air to circulate and keep the fire burning. It produces less smoke and ash than a traditional fire, making it a more eco-friendly option.
How to find the best firewood
Campfires serve not only for heat but also for ambiance and gathering, so it’s essential to use the appropriate wood to burn efficiently and create a nice flame. When looking for the best firewood for a campfire, there are a few things to consider.
First, look for dry, well-seasoned wood that’s hard and heavy, such as oak, hickory, or maple, and burns hotter and longer than softer woods like pine.
Keep in mind that using softwoods such as pine, cedar, or spruce tends to produce more smoke and creosote. For hot tent campers, this creosote can clog the chimneys.
If there’s no dry wood around, look for dead or fallen trees that have stopped growing and are no longer contributing to the ecosystem.
High chances are fallen trees will be rotten and damp. Still, it’s wise to scan the campsite and check each of them before hunting for dead ones.
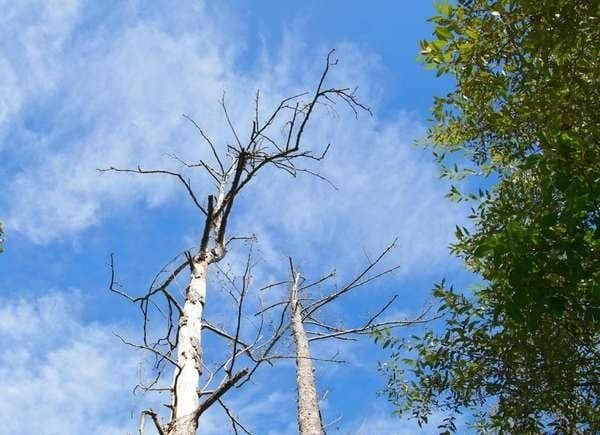
Spotting a dead tree can be challenging for the first time. Look for trees that don’t have any leaves on them and are not showing signs of new growth – new branches or buds. The bark of a dead tree may appear dark and discolored, with a grayish or blackish hue, and easy to peel off.
A dead tree may be leaning to one side or resting on another tree. The ones standing in an upright position tend to be the driest. That is because the water in the tree trunk goes all the way down to the base of the tree. Fungi growing at the bottom is another sign of dead trees.
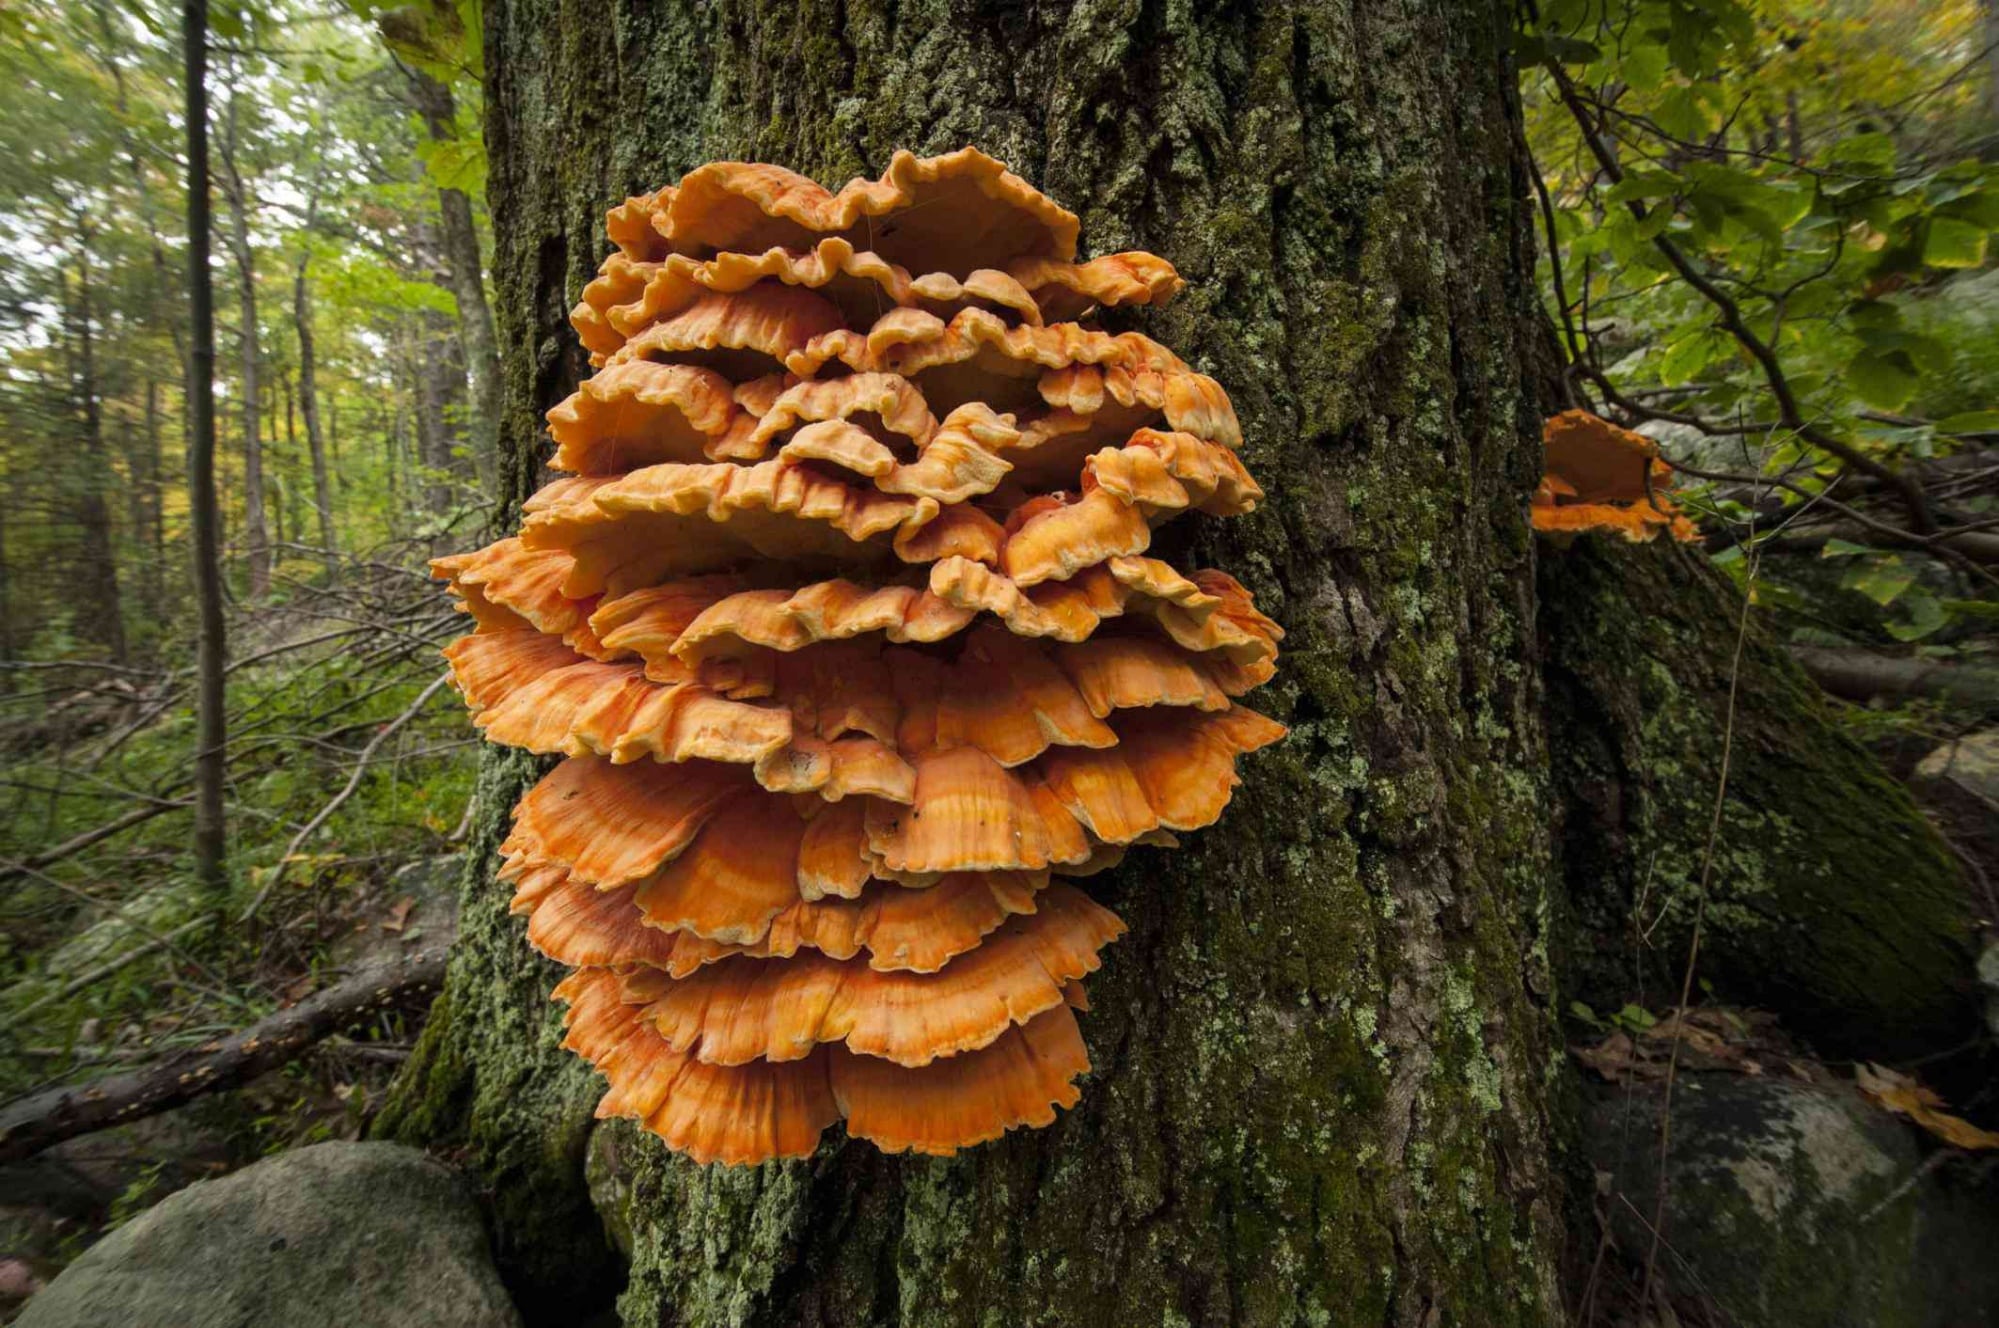
It’s essential to remember that a tree can look dead but still have some life in it, especially in the case of evergreens, so it’s important not to assume that a tree is dead based on one or two signs.
How to start a campfire with wet wood
Heads up: wet wood limits chances to light a fire; thus, it all comes down to experience and your resources. If you’re a beginner in fire building – better make sure you’re equipped with dry wood.
Now, if you’re up for some challenge, let’s talk about how wet wood can come in handy for building fires. Or, in other words, how you should dry it.
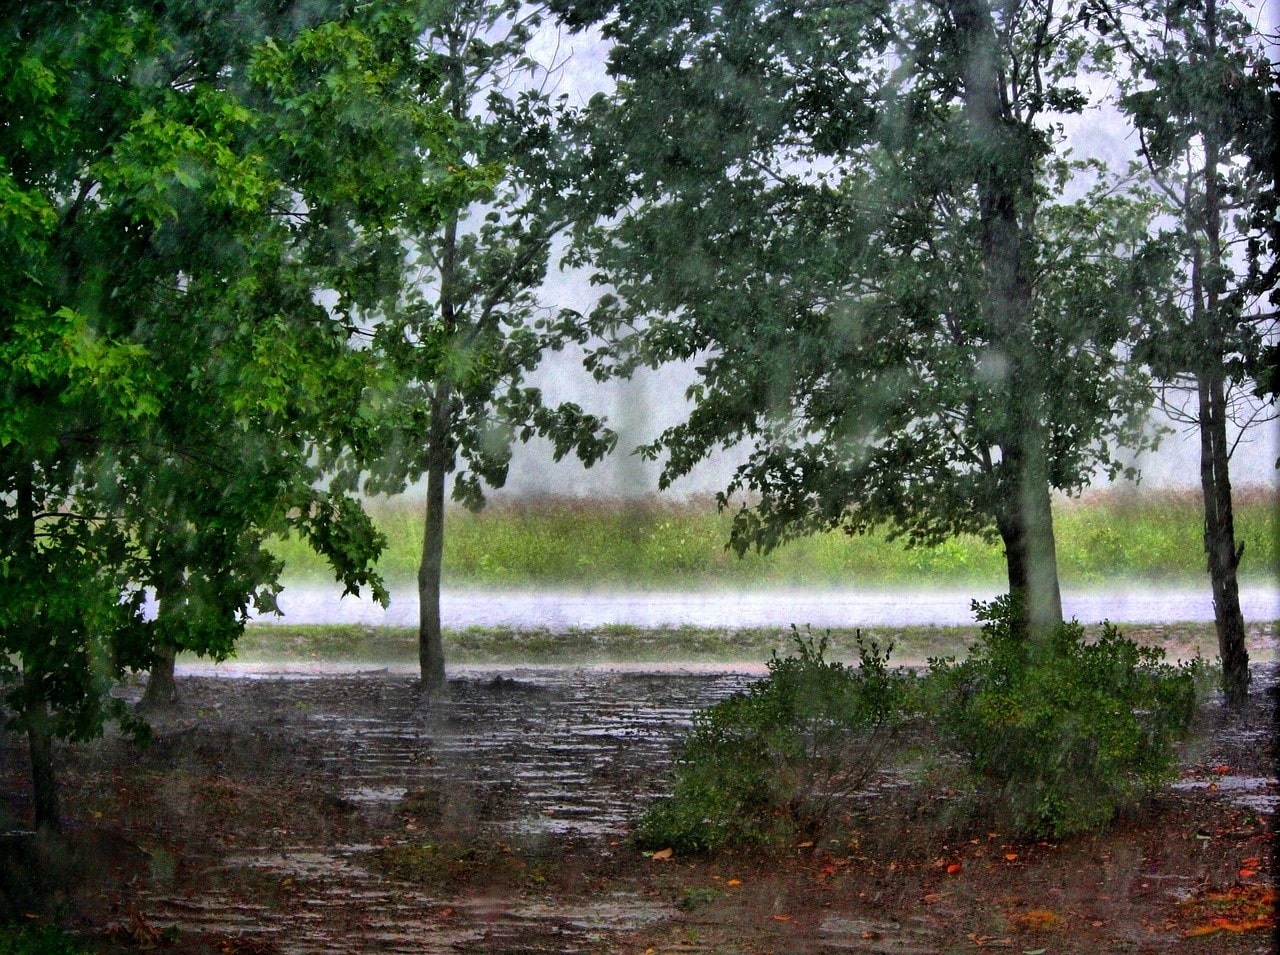
First things first – a teepee method won’t help here, as the fire can collapse when you place many larger logs on top. Go for a criss-cross fire or combine several types for the best results. We’ll explain how in a second.
To get a fire capable of drying the wood, you’ll need to find or make a reflection for the fire so it can keep itself burning. A combination of a platform fire and a criss-cross can do just that.
For a platform fire, you’ll still need some dry wood to get the fire going and produce some intense heat for wet logs. It shouldn’t be too huge; a small one would be perfectly enough. Then, build a criss-cross structure from the damp wood around it to form a “gate” for a platform fire.
This way, the dry wood underneath will dry up the wet wood in the criss-cross structure as the fire burns.
Again, be cautious not to make the fire smothering and not to build the “gate” that wouldn’t let any air in. The oxygen has to go in and out freely.
Get your safe fires going
Now that you know all the ins and outs of building a campfire, it’s time to apply at the campsite. Don’t get upset if the fire doesn’t get going as expected – practice will make it perfect.
And once again, always keep fire safety at the top of your mind. Never leave your fire unattended, and clean the area up before leaving. All in all, the leave no trace principles are your mantra – don’t forget to follow them on your camping trip!